Saddle Position
|
|
Time to read 4 min
|
|
Time to read 4 min
Often when we are out for a ride or at biking events, we have people ask us how to make their bike fit better. One rider in particular, who had been previously fit on his bike, was complaining of feeling a bit cramped and having a fair amount of shoulder pain. After seeing him pedal his bike on a trainer, we were able to make a few adjustments to his saddle of only one or two degrees to fix these problems. He recently wrote us and told us how well his bike fit and how pleased he was with it. So to answer the question, ‘Does one degree make a difference?’ The answer is, yes. Here are a few simple steps you can do yourself to make your bike fit better than before, and they won’t cost you a penny.
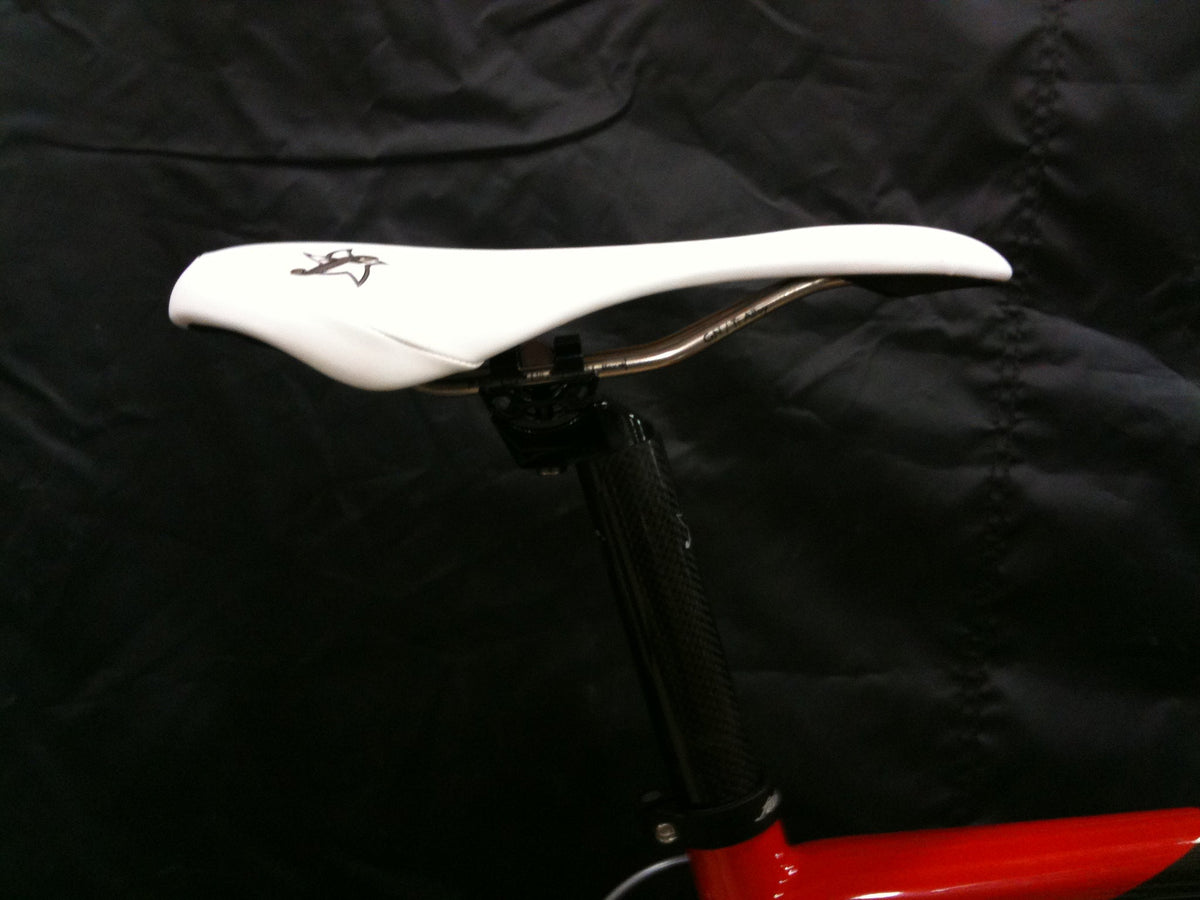
The tilt of your saddle is a very crucial adjustment that, frankly, the average cyclist doesn’t fully understand. Most saddles are installed nose down. Did you know that this will actually cause more of your weight to be resting on your hands and arms which can cause muscle tension? To achieve a neutral weight balance between your saddle and hands, your saddle should be installed anywhere from level to 1-2 degrees nose up. This gets you sitting on the wider rear-part of the saddle and puts your upper body weight on your butt and not on your arms and shoulders. With the weight off your shoulders the tension and cramped feeling is lessened, and with a neutral weight balance you have more control of your bike. After adjusting the saddle tilt, be sure to adjust the saddle.
Nose Up

1-2 Degree Nose Up

Nose Down

No two butts are alike. Did you know that riding with your saddle in direct alignment with your top tube could be causing some of the discomfort you are experiencing? Everyone’s soft tissues are different and by rotating your seat post one or two degrees to the left or right you can relieve some of the pressure you may be feeling. To do this loosen your seat clamp and tap the nose of your saddle to the left one or two degrees and then tighten your seat clamp. If having the saddle to the left is uncomfortable try moving it to the right. You will have to experiment what works best for you on the saddle rotation, but try it, it does make a difference. For this to be effective you need to be sure you are sitting on your saddle properly.
Left Rotation

Centered

Right Rotation

Sitting on your bike saddle is not the same as sitting on a chair. When sitting on your saddle you need to roll your hips back so you are sitting on the flatter portion of your sit bones on the wider rear part of the saddle. This will create a larger contact area with the saddle on the sit bones allowing your weight to be dispersed better and relieving some of the pressure points. A good pair of riding shorts can help with this positioning and offer more comfort.
The most common mistake made on bicycle fit is improper saddle height. Did you know you can ride with your saddle higher than you may think? Most people ride with their saddle too low. If your saddle is too low you will fatigue your quad muscle around your knee and tire quickly. By raising your saddle to achieve full leg extension on your pedal stroke you will be more efficient because you are using all the muscles in your legs and not just one concentrated muscle group. Ideally you want about a 3 degree bend in your knee while your foot is at the bottom of your pedal stroke (6 o’clock). If your saddle is too tall you will get a rocking sensation as you pedal that you’ll want to avoid.
The handle bars are the second most vital contact point on your bike after your saddle. The rotation of your bars can affect pressure on your hands, arms, shoulders, neck and even your back. If your bars are tilted too far down or up you can pinch the nerves running through your hands and create numbness in your arms and shoulders. You want to have the top portion of your bars and shifter hoods level or slightly angled up. Double check this before your next ride and see the difference it makes.
Down Angle

Up Angle

Level

Don’t be afraid to stand up on your pedals. In fact it is a good idea to get off your saddle every now and again to get the blood flowing. Be sure to get out of the saddle before things go numb.
Now that you have made these positioning adjustments to your bike go ride it and answer the question for yourself: does one degree make a difference? Ride on!
Let us know if this was helpful by posting a comment below.